NON-DESTRUCTIVE TESTINGS WITH THE VISUAL CHECK METHOD
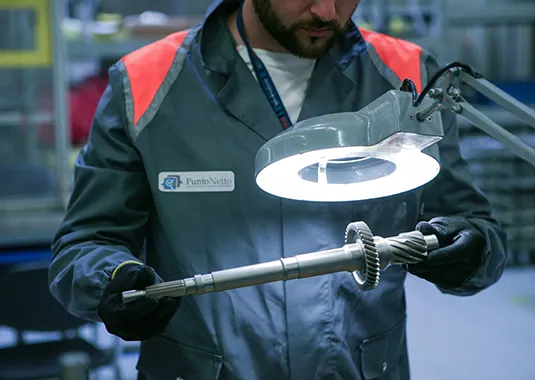
Visual inspection, also known as Visual Testing or more simply VT, is a method applied to Non-Destructive Testing among the most widespread in the General Industry. Thanks to the visual check it is possible to deduce useful information on the state of conservation of the component examined. For the immediacy of the analysis, the Visual Testing method can be applied to any type of material, in any state of manufacture and at any time in the life of the component.
Non-Destructive Tests carried out by means of visual checks are therefore used at every moment of the component's life, whether manufacturing or operational, to verify the conformity of the product in compliance with certain reference standards. As for all non-destructive tests, Punto Netto's qualified technicians are qualified and certified in compliance with the UNI EN ISO 9712 standard.
Visual Testing (VT) exploits the visual capacity of the operator who, with the naked eye or with the aid of optical instruments such as mirrors, endoscopes, boroscopes, fiberscopes and video endoscopes, is able to detect visible defects on the surface of an inspected component, such as cracks, physical damage, deformation, corrosion, swelling and wear.
THE ADVANTAGES AND DISADVANTAGES OF A VISUAL CHECK
Visual Testing (VT) can be used for any type of surface control and on any type of material.
It is used because it provides good detection of defects that are not detectable with other Nondestructive Testing methodologies.
It has reduced costs if only direct visual aid is used
It offers a simple interpretation of the defects
Conversely, the visual inspection is not suitable for identifying very small defects and above all it is inappropriate for all those defects that do not surface and which for this reason are not identifiable.
THE VISUAL CHECK METHOD
The non-destructive testings with the VT method are divided into two macro-categories:
Direct visual inspection
Remote visual control
In the first case, the optical path that goes from the human eye to the component to be inspected is uninterrupted. This examination can be assisted by mirrors, endoscopes, lenses and other optical support instruments.
In the second case, the vision technique is called remote because the optical path is interrupted by the use, for example, of photographic, video and robotic systems that replace the human eye. These remote systems are used, for example, when it is necessary to inspect particularly complex areas or areas that can generate risks to the health of the operator, such as submerged areas, at high temperatures, with the presence of radiation or dangerous fumes. This technique is specifically used in the case of castings and welded joints, for the verification of anomalies and / or defects identifiable by visual examination.
THE GOVERNING RULES OF VISUAL CHECKS
Punto Netto, accredited by Accredia as a Type C Inspection Body and operating in compliance with the UNI CEI EN ISO standard / IEC 17020: 2012, through its highly qualified technical staff, in turn strong of the Level 2 certification, in compliance with the ISO 9712 standard, represents the best choice if you want to carry out non-destructive tests with the visual inspection method.
The main rules governing non-destructive tests in the Visual Testing regime are:
UNI EN ISO 13018 which regulates the general principles of a visual examination
UNI EN ISO 17637 which regulates the non-destructive tests with direct visual examination on welds and specifically all the visual controls of welded joints by fusion
UNI EN ISO 17637 which regulates remote visual checks, that is carried out with the aid of Videonendoscopes, Boroscopes, Fiberscopes for the inspection of welds not accessible by direct examination.


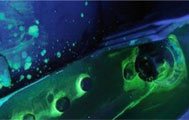 Among the many services provided by Equity Point stand out the non-destructive testing, with Penetrating liquids, Ultrasound and Magnetic Particle.