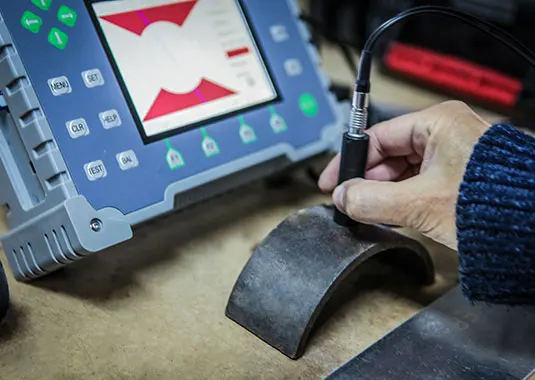
Among the various non-destructive tests, the induced current method (also called Eddy current) represents a technique of fundamental importance for the research of surface and sub-surface defects on electrically conductive parts. This Non-Destructive Control can be applied to both metallic and non-metallic materials, on condition that they are electrically conductive, such as, for example, CFRP (carbon fibre composite) structures.
The induced currents method is widely used on components that have a surface coating such as paints, plating, protective coatings such as chrome, galvanizing, etc. and allows to detect linear and non-linear discontinuities such as cracks, porosity, corrosion and melt failure, changes in conductivity, magnetic permeability, hardness, also allowing the activity of selection of materials.
Eddy currents are a non-destructive test in high demand in the area of aeronautical revisions but also in the sector of manufacture of mechanical components of general industry subject to defects such as cracks from heat treatment or mechanical processing and for the control of defects caused by corrosion inside tube bundles of industrial heat exchangers.
THE OPERATING PRINCIPLE OF THE METHOD WITH EDDY CURRENT
Eddy currents are created by the presence, on the surface of the component to be investigated, of an electromagnetic field that varies over time, which induces an electrical voltage with the consequent generation of concentric circulating currents that oppose the cause that generated them.
Depending on the type of material to be inspected, so on its conductivity and its possible magnetic permeability, as well as the frequency of the inductor field, these currents penetrate the material to depths of the order of several millimeters. The presence of a discontinuity in the volume of circulation of the currents disturbs their direction, giving origin to an electrical signal proportional to the size of the defect itself. This signal is represented both by the polar plane (angle and intensity) and in the time domain.
In non-destructive testing using Eddy currents, Punto Netto can also supply 3rd level technicians in compliance with UNI EN ISO 9712, using touch probes for surfaces, rotating probes for checking holes, "pencil" probes for checking angles and surfaces with variable geometry. Typical frequencies range from 100 kHz up to 2-5 MHz.


 Among the many services provided by Equity Point stand out the non-destructive testing, with Penetrating liquids, Ultrasound and Magnetic Particle.